Kaju katli has always been one of my favourite Indian sweets. When I was a kid, I used to think the silver leaf on it meant it was really fancy.
Typically kaju katli is served during Diwali and because it only made a once a year appearance, I always thought it was difficult to make. Why else wouldn’t we be eating it all year round!
But kaju katli actually only consists of three main ingredients: cashews, sugar syrup and cardamom powder. And while there is some technique and skill involved when it comes to knowing textures and consistencies, it’s actually pretty easy to make.
Fun fact: I actually made these for the first time when meeting my boyfriend’s parents for the first time. Needless to say they were impressed, and we are now married. Not saying there is a link but not saying there isn’t a link either.
Tips on perfecting kaju katli
First things first, is it kaju katli or kaju barfi? While the two names are sometimes used interchangeably, the main difference between the two is that kaju katlis are thinner and there’s no milk in it. A barfi is usually thicker and is made with milk or khoya (milk powder).
This recipe is for kaju katli. And there are a few things you can do to perfect your mithai:
Grinding the cashew powder
This step is of particular importance. If you want the katli to look like it came straight of the mithai shop, then be careful with this step. You want to grind cashews just enough so it turns into a powder and not a paste.
If you overgrind it, the cashews will release its natural oils and it’ll be stodgy. So don’t pulse it too much and try to grind it up in one go. Grinding in batches and using cashews at room temperature will also help with this. The finer you get it, the smoother the katli will be.
Sugar thread consistency
Don’t waste your time looking out for thread consistency in the sugar. All you need to do is dissolve the sugar in water and let it thicken slightly. You don’t have to wait for any threads to form.
The right time to knead
You’ll need to sacrifice your hands for the perfect katli (kidding, but not really). Once the dough is formed, you have to knead it while it’s still kind of hot. Please don’t burn yourself of course, no mithai is worth that but to get it smooth, this has to be done. It’ll be a little painful but no pain, no gain baby.
If you wait too long, the dough will dry out and you’ll be left with crumbs as you try to knead it. Protect your hands by greasing it with ghee or butter before you knead. Some people also use a sheet of baking paper as a barrier between their hands and the katli. My hands lost all feeling in it a while ago so I just go straight in.
Don’t panic if you think you waited too long and it dried out. All you need to do is add a tablespoon of milk and knead it through the dough to moisten it.
If on the other hand, your kaju katli is too sticky, it likely wasn’t cooked enough and you need to cook it for a little longer.
There are many more tips in the recipe video, including the trick to cutting the kaju katli into perfectly uniform diamond shapes. So give it a watch and let me know what you think!

Kaju Katli Garnishes
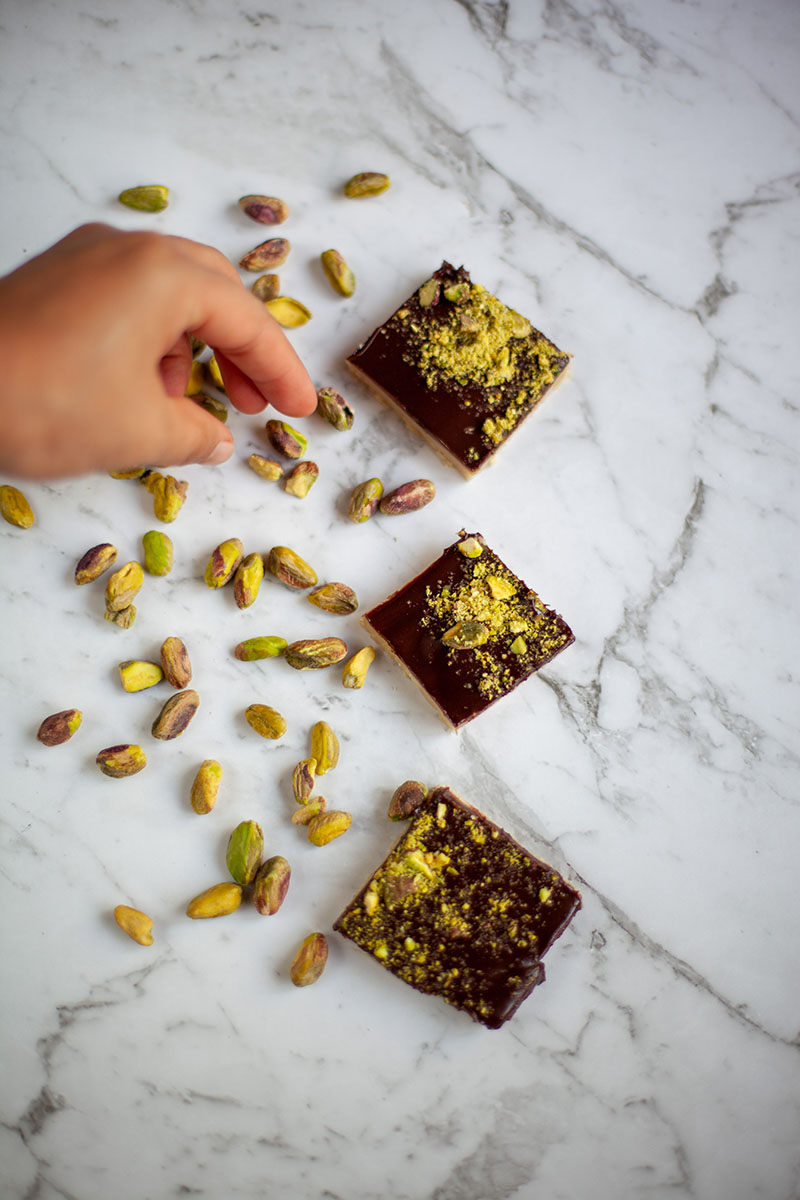
Because perfecting traditional kaju katli wasn’t enough for me, I decided to put a little modern twist on it and coat half of it with a dark chocolate ganache. Cos I need to prove my worth as a culinary genius to you guys you know.
I used dark chocolate as I thought the slight bitterness of the chocolate would balance out the sweetness of the katli. You could also use a milk chocolate ganache or a ruby chocolate ganache would look really cool as well. Just don’t use white chocolate, otherwise it’ll be beige on beige and will defeat the purpose of dressing up the katli.
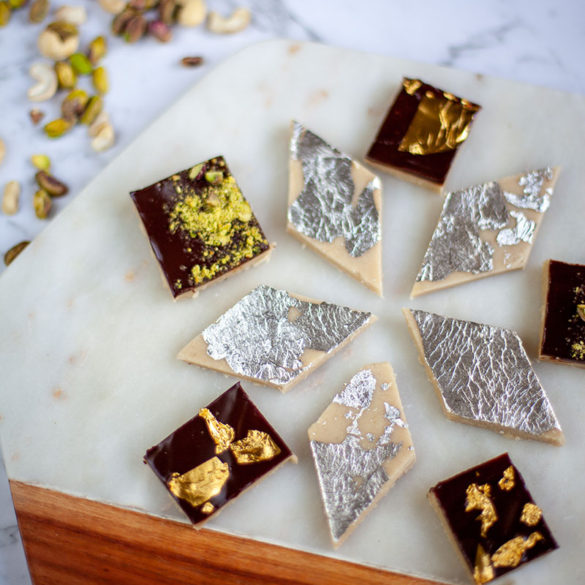
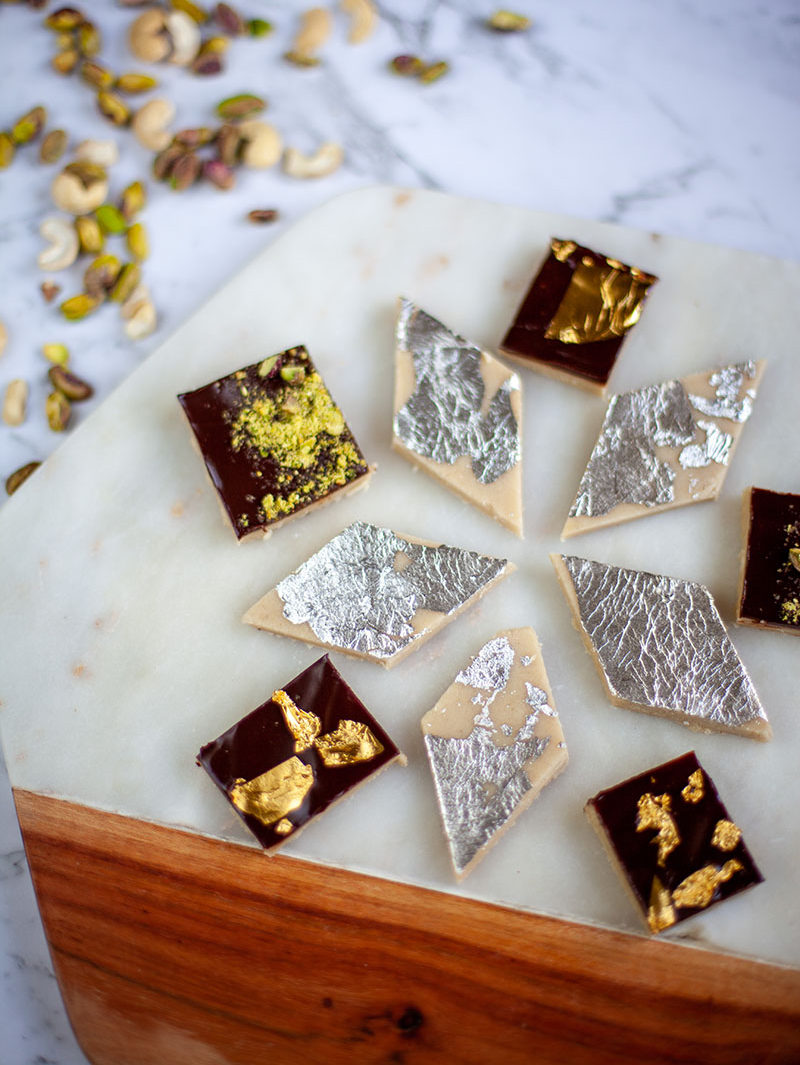
To be honest, garnishing the kaju katli is totally optional. Silver leaf in particular doesn’t really do anything taste wise, it’s purely aesthetic. Without it the kaju katli looks beige and boring and would probably end up the loser mithai in the box that gets picked last.
Add the silver coating, and my chocolate, pistachio and gold leaf garnishes however and you’ll have the mithai dressed up in its Diwali’s finest.
Once the katli is ready, you can keep it refrigerated for up to a month. There’s enough sugar in there for it to last that long though I doubt there’ll be any leftovers!
More from B’s Bites
Craving more sweet treats? Try my Masala Chai Kulfi – it’s sugar, spice and everything nice. Or for something a little healthier, give my Banana and Blueberry Muffins a go.
Hope you enjoy! If you tried this recipe, let me know your thoughts in the comments below.

Ingredients
- 2 cups cashews (at room temperature)
- 1 cup sugar
- 1/2 water
- 1/2 tsp cardamom powder
- Ghee/Butter for greasing
- Silver leaf (garnish, optional)
- Gold leaf (garnish, optional)
- Ground up pistachio (garnish, optional)
For chocolate ganache (optional):
- 100g dark chocolate buttons (baking chocolate)
- 1 tbsp butter
- 1/4 cup full cream milk
Method
- Using a blender/grinder, grind your cashews into a fine powder. Try to do this in one burst so the cashews don't release too much of its natural oils. If too much oil is released, it'll turn into a paste, not a powder.
- Put the cashew powder through a sieve to get rid of any bigger pieces.
- Next make the sugar syrup. In a pan, dissolve sugar in water over low flame. You don't have to look for a thread consistency, just dissolve sugar completely.
- Add the cashew powder and cardamom powder, stirring continuously until the mixture thickens and it forms into a simple lump. This should take 10-20 mins depending on pan used etc.
- To check if the mixture is ready, pinch a small bit off, and roll into a small ball. If it forms nicely and is still sticky without sticking to your hands, then it's good to go.
- Place cashew dough onto a baking paper, spreading it out to let it cool.
- Once it's cooled down a bit but is till warm to the touch, grease hands with butter/ghee and knead until it forms a smooth surface. If it's dried out too much before kneading, just mix in a tablespoon of milk to moisten the dough.
- Once you're happy with it, shape it into a rectangular piece for easier rolling.
- Place another sheet of baking paper on top of the kaju katli, and roll it till it's about 0.25cm thick throughout.
- Cut the kaju katli in half if making both the chocolate and traditional versions.
- On the traditional half, use a ruler to make even vertical lines and then even diagonal lines at a 45 degree angle. This will get you perfect and evenly shaped diamonds.
- Grab a sheet of silver leaf and press down onto the kaju katli lightly. If it's not sticking, just rub a little butter/ghee on the surface. Don't worry if the silver leaf doesn't come off perfect, it's all part of the look. (if not making chocolate version, skip to step 20)
- Make the chocolate ganache. Melt the chocolate in a double boiler or in a microwave in 10 second bursts.
- Add the butter and milk, and mix till glossy.
- Fit the chocolate half of the kaju katli into a small baking tray, using any small side pieces of the kaju katli to cover up any gaps.
- Pour the chocolate ganache over and spread it out evenly.
- On one half, sprinkle ground up pistachios and then leave to set for an hour or so.
- Once it's set, cut the chocolate kaju katlis into even squares.
- Add gold leaf to the plain chocolate kaju katli if desired.
- You're now ready to impress everyone with your homemade mithai! Enjoy!!
Notes
The recipe is quite detailed, but if you have any questions, leave it in the comments and I'll answer it!


2 comments
Hi thanks for sharing this recipe! I was wondering since you are using chocolate ganache do the ones with the ganache have to be refrigerated? Or how many days is it good for at room temp ? I was visiting a friend in Colorado and was going to give them to her in 3-4 days.
Yes the ones with chocolate ganache definitely have to be refrigerated. Hope your friend enjoyed them! :)